- Visit www.rim.edu.bt/rims/wp-login/
- Or click on Admin login link on www.rim.edu.bt/rims menu bar
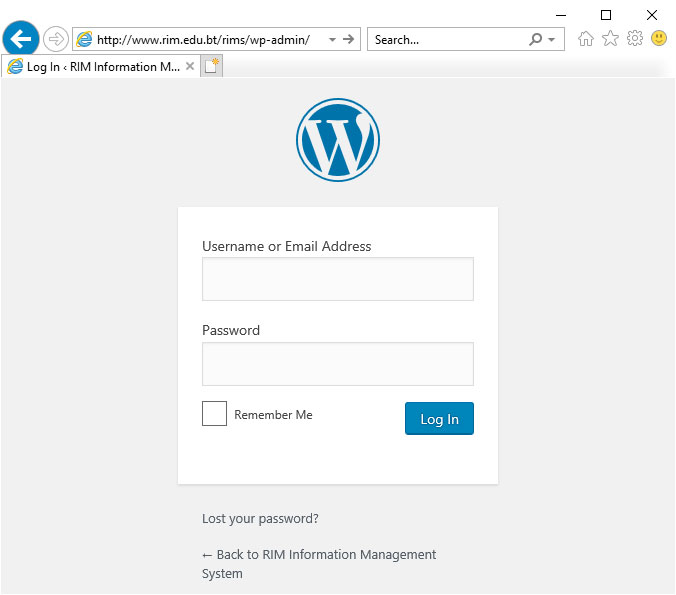
- Enter your crediential and then click on Log in Button
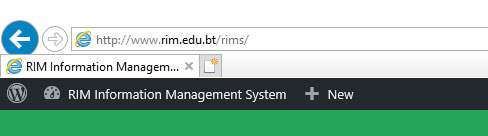
If you are logged in the RIMS, you should see black bar on the top of the RIMS page, like below.
Click on the New and then on Event
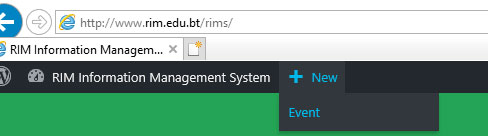
If you are already logged in, You can click on Add New on the left panel of the screen

To enter new event, you have to follow 6 or 7 steps
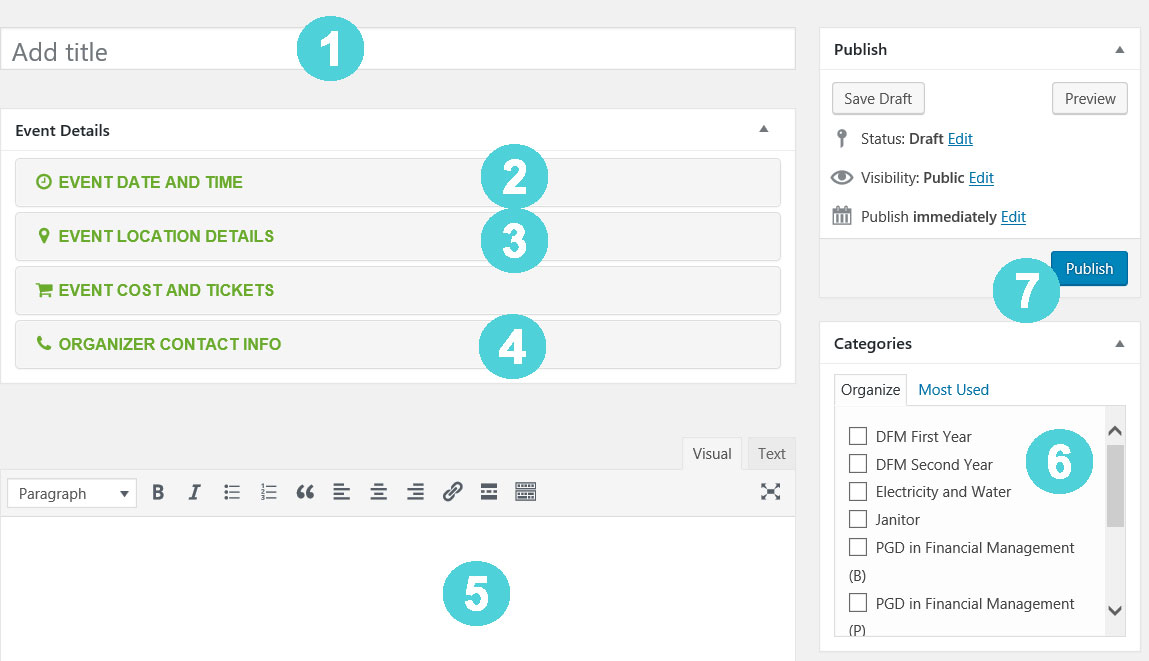
- Enter the title of the event
- Specify Event Date and Time
- Mention Event location/Venue
- Contact Info of Organizer
- The description is not mandatory, you can leave it empty
- Select the category/type of event, relevant of event
- Click on Publish button to make the page online.
- DFM First Year
Any event that requires attention or related to DFM First year course - DFM Second Year
Any event that requires attention or related to DFM Second year course - Electricity and Water
Any event that requires attention or related to managing electricity and water in RIM - Janitor
Update of timetable and location of cleaners in RIM - PGD in Financial Management (B)
Any event that requires attention or related to PGDFM Business course - PGD in Financial Management (P)
Any event that requires attention or related to PGDFM Public course - PGD in National Law
Any event that requires attention or related to PGDNL course - PGD in Public Administration
Any event that requires attention or related to PGDPA course - RIM Events
RIM event and any other ad-hoc events that requires participation of RIM members (any trainees, faculty or staff) - Training and Workshop
Any non-regular course and consultancy conducted by RIM for the client - Security
Time schedule. Name and location of the RIM security personal - Venue Partner
Any events held in RIM by outsiders (hired room)
Events that happens/repeats once a week for specific time.
Example : PGDPA has HRM subject every Monday (9.30-12.45) from May 06 – Sept 27, 2019
Step 1. First specify event begin and end date
Step 2. Click on Repeat
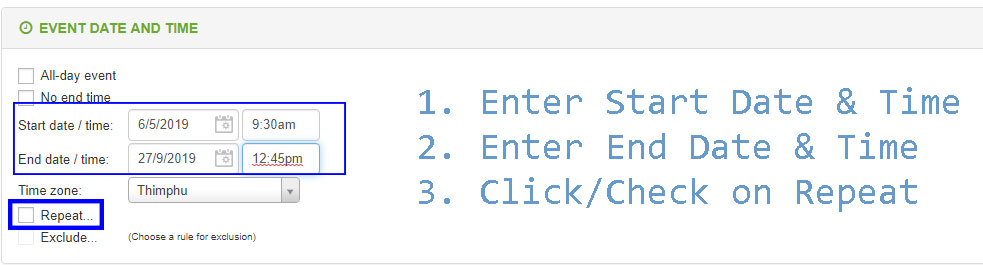
Step 3. Click on Weekly (since the subjected is repeated once every one week)
Step 3. Follow steps given in the picture
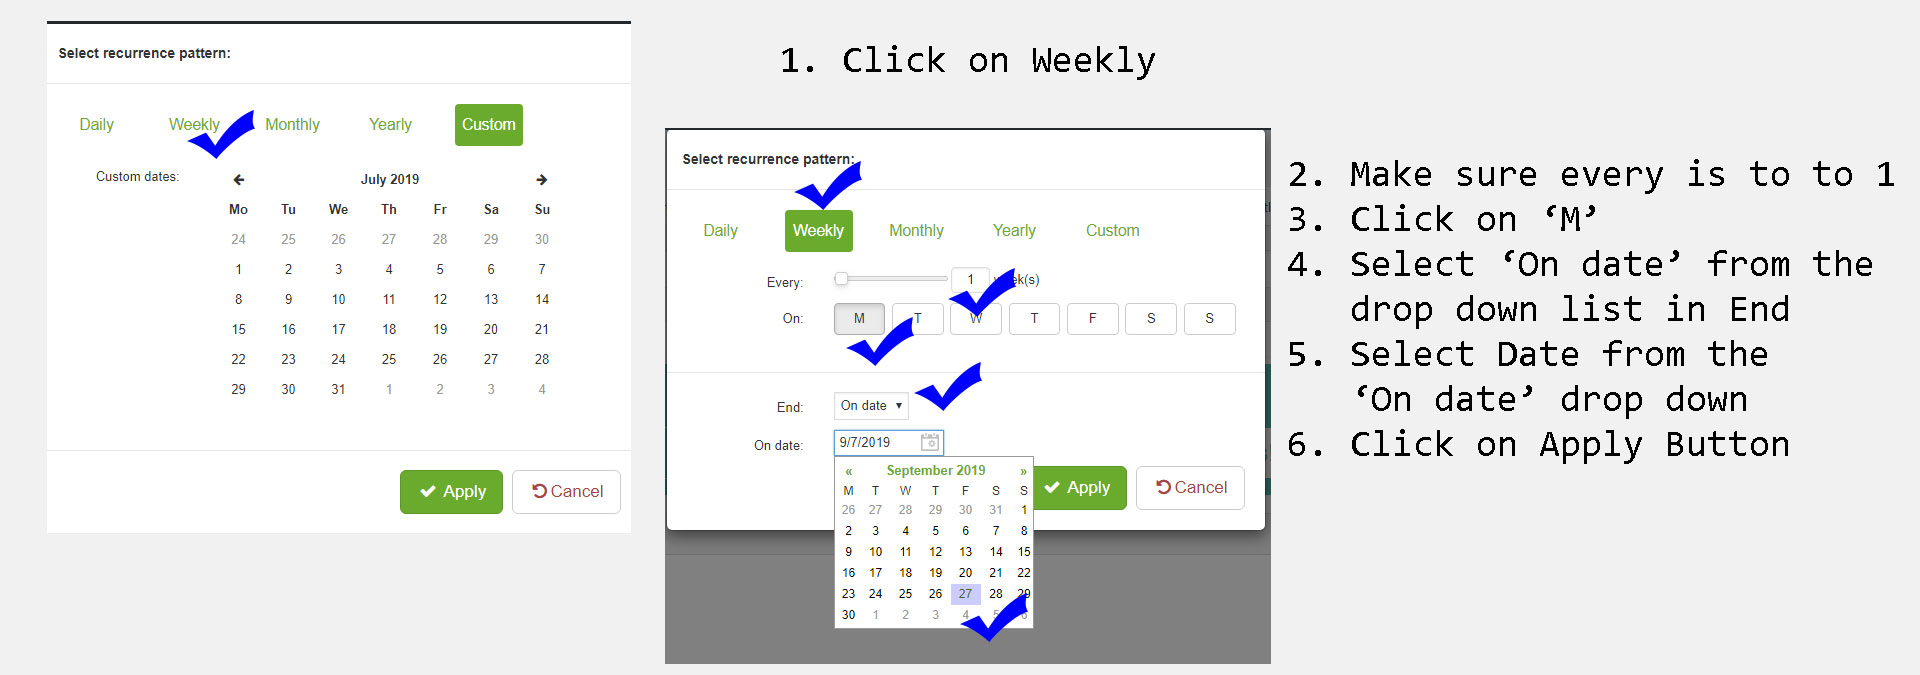
Note : What we have done is, the event is going to repeat once on Monday every week [We selected ‘Weekly’, Every ‘1’ week(s), On Monday, selected on ‘M’]. Since the event ends on Sept 27, we selected End ‘On date’ and selected September 27 from the On date.
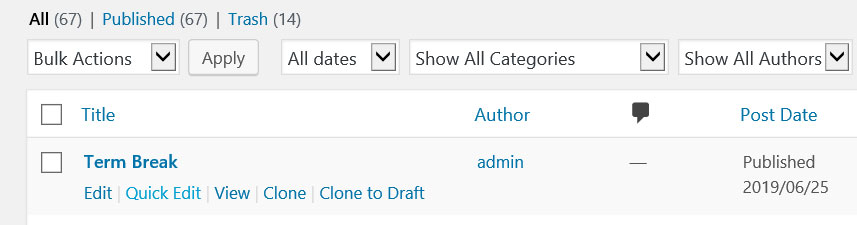
There are few clicks and options involved to narrow down your search result.
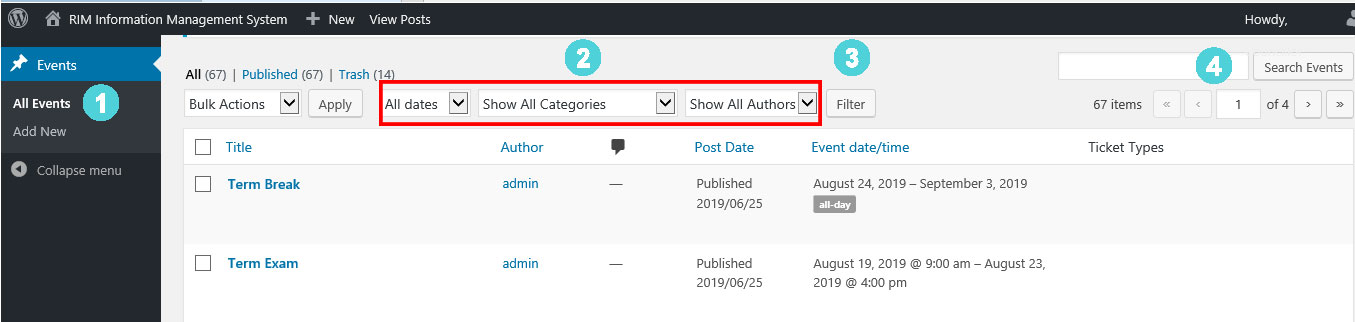
Step 1. Click on All Events on the left panel
Step 2. Chose how you want to filter your search 1. Date : When was the event posted, 2. Categories : type of events, 3 Authors : Who posted the event.
Step 3. Click Filter button to execute the search or filter you choose
or
Step 4. You can search by the key words that you rememebr
There are two ways or maybe more, but here let look into two simple method
OPTION 1
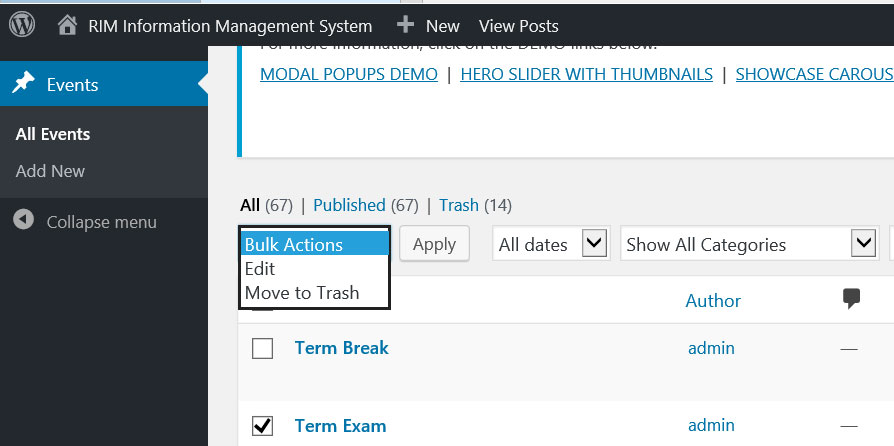
Step 1. Select the event (clicking on check box)
Step 2. Select Edit or Move to Trash(Delete) from the Action Dropdown
Step 3. Click Apply button
OPTION 2
Step 1 : Take you mouse pointer over the title of an event. Pop up menu appears
Step 2. Click on the desired task you want to perform
Advance Level
If the date of the event is not getting updated to current date :
Step 1
- Go to Event > Setting > Viewing Events
- Delete date in the ‘Default calendar start date (optional)’ (If there is one specified)
Step 2
- When you mention date of event, Make Start and end date same
- Click/Check on Repeat
- Specify Weekly, Check all days that it repeats
- Specify End on Date